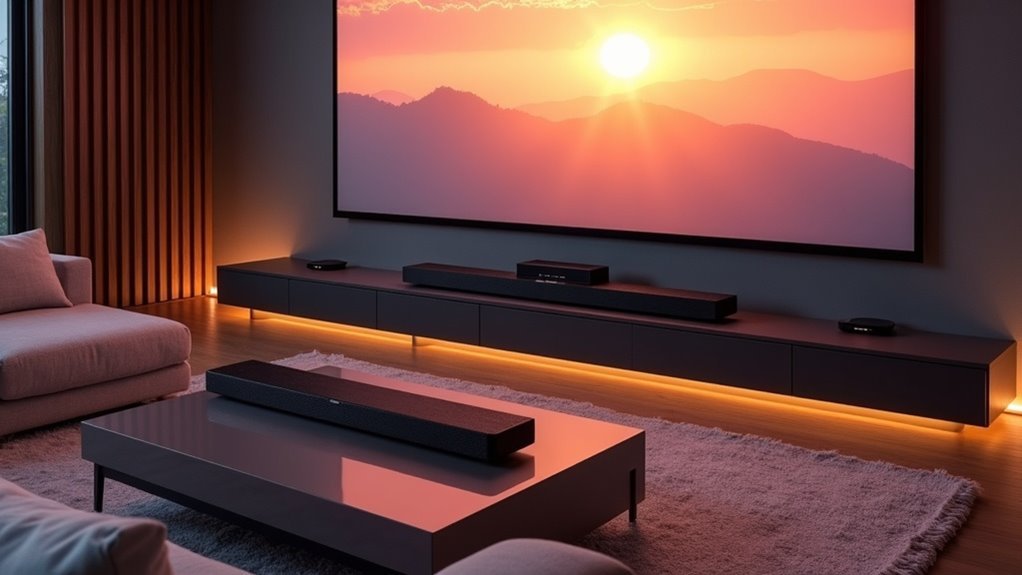
To set up your soundbar with an antenna TV, begin by connecting the antenna to a digital converter box. Then, use red and white RCA cables to link the audio output of the converter box to the audio input of the soundbar. Ensure all connections are secure to prevent audio issues. Next, power on your TV, converter box, and soundbar, making sure to select the appropriate settings on each device. By following these steps, you’ll enhance your audio experience, and further details on soundbar features and settings are available.
Key Takeaways
- Connect the over-the-air antenna to the input of the digital converter box for signal reception.
- Use red and white RCA cables to link the converter box’s audio output to the soundbar’s audio input.
- Power on the TV, soundbar, and digital converter box, ensuring all devices are functioning properly.
- Set the TV to the correct input source for the converter box and select the appropriate audio mode on the soundbar for optimal performance.
- Check all connections for security and verify soundbar settings to ensure you achieve the best audio quality.
Understanding Your Equipment
To set up your soundbar with antenna TV effectively, it’s crucial to understand your equipment.
Begin by checking your TV’s audio output options, as some models may have limited compatibility that can impact sound quality. Soundbars typically require a digital audio format like PCM, while antennas may output analog signals, so it’s important to verify compatibility.
When transitioning from cable to antenna, ensure that the audio signal remains stable. Familiarize yourself with essential accessories, such as a digital converter box and RCA cables, for proper connections.
Ensure a stable audio signal when switching to antenna TV by using a digital converter box and RCA cables for optimal connections.
Lastly, confirm that both the converter box and soundbar have matching ports to ensure a seamless audio setup for an enhanced viewing experience.
Connecting the Antenna to the Digital Converter Box
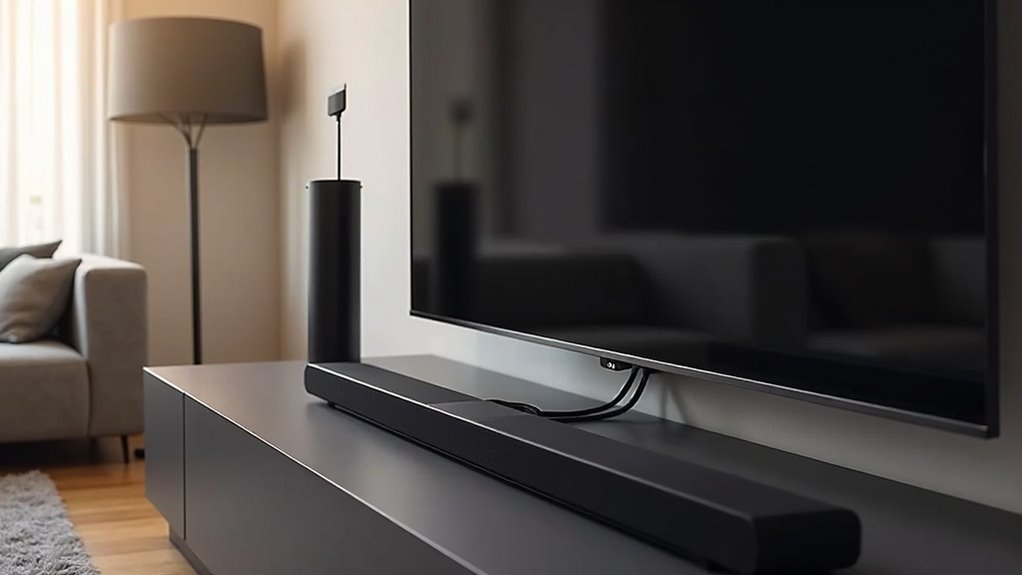
Connecting your soundbar to a digital converter box for optimal audio performance is a simple process that enhances your overall viewing experience. Begin by ensuring your over-the-air antenna is connected to the designated input on the converter box. Once that’s done, utilize a red and white RCA cable to connect the audio outputs of the converter box directly to your soundbar. It’s crucial to secure all connections to prevent any audio issues. After setting up the physical connections, use your soundbar’s remote control to select the correct audio input for seamless sound delivery.
| Component | Connection Type | Purpose |
|---|---|---|
| Antenna | Coaxial | Receives broadcast signals |
| Digital Converter | RCA | Transmits audio to soundbar |
| Soundbar | RCA | Outputs enhanced sound |
| Remote Control | Analog Button | Selects audio input |
| Power Supply | AC Adapter | Powers devices |
Required Cables for Audio Connection
When setting up your soundbar for audio connection, having the right cables is essential for achieving optimal sound quality.
Setting up your soundbar with the right cables is crucial for optimal sound quality.
You’ll need to gather the following items:
- Red and White RCA Cable: This cable transmits audio signals from the digital converter box to your soundbar.
- Digital Converter Box: Ensure it has red and white audio output ports.
- Secure Connections: Connect the red output on the converter box to the red input on the soundbar, and the white output to the white input.
- Compatibility Check: Before powering on, verify all connections to ensure superior audio performance from your soundbar.
Establishing Connections Between Devices
Having gathered the necessary cables, you’re ready to establish connections between your digital converter box, TV, and soundbar. First, locate the red and white audio output ports on the converter box. Connect the red RCA cable from the box to the red input on the soundbar, and the white cable to the white input. Ensure each connection is secure for optimal audio performance.
| Device | Output/Input | Connection Type |
|---|---|---|
| Digital Converter Box | Red Output | RCA Cable |
| Digital Converter Box | White Output | RCA Cable |
| Soundbar | Red Input | RCA Cable |
| Soundbar | White Input | RCA Cable |
After securing connections, you’re ready to power on and enjoy enhanced audio through your soundbar.
Powering On Your Devices
To begin, turn on your television and ensure it’s set to display the image from the antenna or digital converter box.
Next, power on your soundbar using its remote control. This step is essential for achieving optimal audio output from your soundbar, enhancing your overall viewing experience.
Turn On TV
To turn on your TV and ensure optimal sound through your soundbar, follow these steps:
- Power on your TV by making sure it’s plugged into a power source, then press the power button on the remote or directly on the TV.
- Check that your digital converter box is plugged in and powered on to receive signals from your antenna.
- Make certain the soundbar is connected to a power outlet and turned on using its power button or remote.
- Set the TV to the correct input source corresponding with the digital converter box.
- Verify the soundbar is set to the appropriate audio mode to receive sound from the converter box.
Activate Soundbar Remote
Activating your soundbar remote is essential for seamless audio control.
First, ensure your soundbar is plugged into a power source and powered on by pressing the power button. Aim the remote at the soundbar and press the button marked “Power” or “On.”
If it doesn’t respond, check the remote’s batteries to confirm they’re charged and installed correctly. For some models, you may also need to press a specific function button like “Input” or “Source” to select the correct audio signal from your devices.
Finally, verify that your soundbar is set to the appropriate mode (analog) to receive audio from your antenna’s digital converter box.
Selecting the Correct Audio Setting
As you set up your soundbar with antenna TV, selecting the correct audio setting is essential for ideal performance.
Setting the right audio settings for your soundbar and antenna TV is crucial for optimal sound quality.
Follow these steps to ensure optimal audio output:
- Set the soundbar to analog mode to receive audio signals from the converter box.
- Use the remote control to select the audio input source that corresponds with the output from the digital converter box.
- Adjust the TV’s audio output settings to direct sound through the soundbar instead of the built-in speakers.
- Confirm that the soundbar is securely connected to the converter box using RCA cables, ensuring that the color coding is matched correctly.
Once you’ve made these adjustments, test the audio to verify that the settings are correct.
Troubleshooting Common Issues
Even with the correct audio settings in place, issues can still arise when connecting your soundbar to antenna TV.
First, confirm your digital converter box is securely connected to the antenna and has red and white RCA output ports for audio. Use a red and white RCA cable to link these outputs to your soundbar’s corresponding inputs.
Check that your soundbar is set to the analog input mode via its remote. If you still experience sound issues, verify all connections are tight and that your TV is configured to output audio through the analog signal.
Consider adjusting settings or using an audio converter if needed to enhance your soundbar’s performance.
Additional Tips for Optimal Performance
To achieve optimal performance from your soundbar when connected to antenna TV, it’s crucial to ensure that all components are positioned and calibrated correctly.
Follow these tips for the best results:
- Connect your over-the-air antenna to a digital converter box for proper signal conversion.
- Use a red and white RCA cable to link the digital converter box’s audio output to the soundbar’s RCA input ports.
- Turn on the soundbar and select the appropriate audio input option for accurate signal reception.
- Regularly check and tighten all connections to prevent audio dropouts and maintain consistent performance.