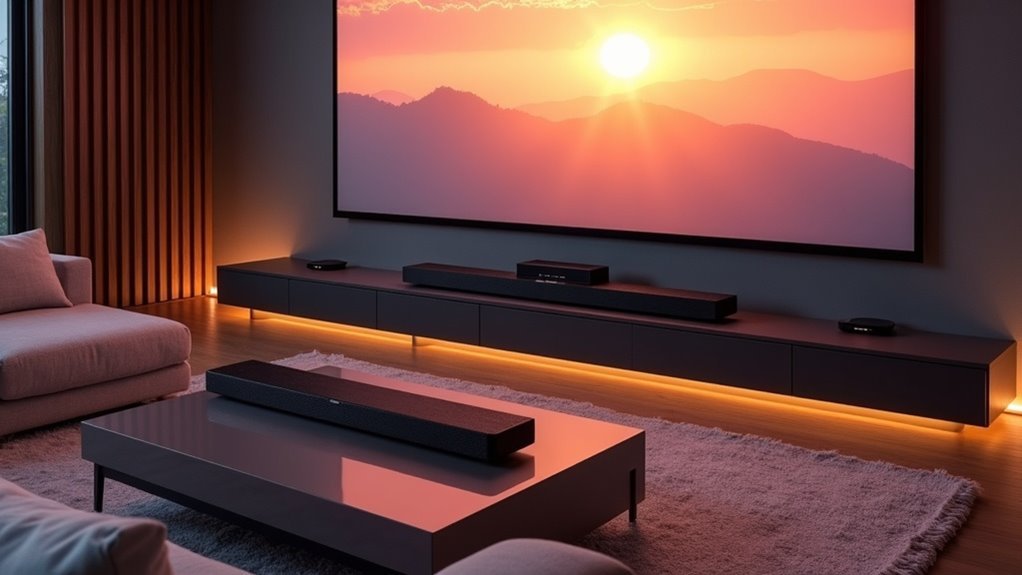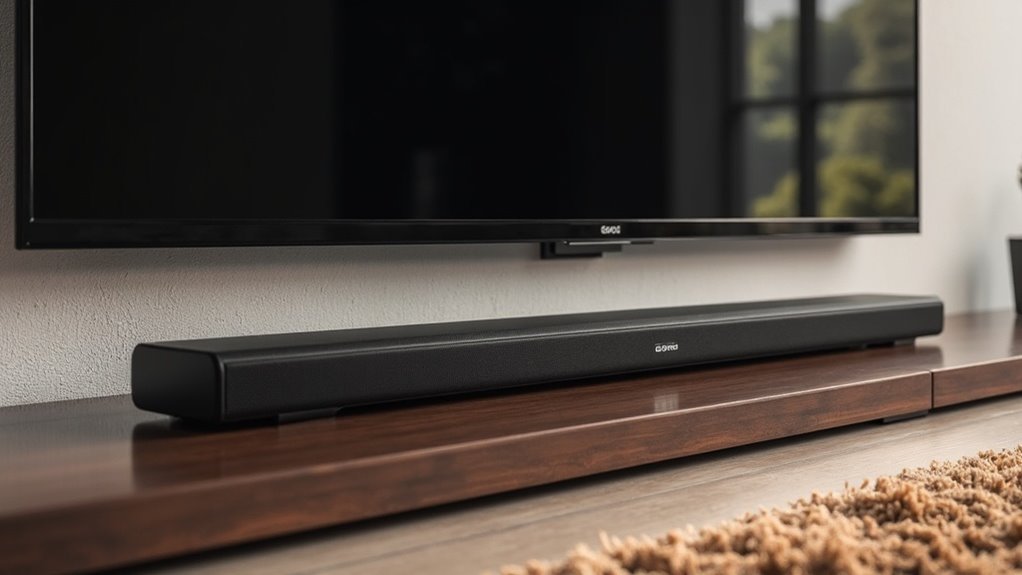
To mount a soundbar under your TV, start by selecting a compatible universal soundbar mount that supports your soundbar’s weight and matches your TV’s VESA pattern. Measure 42.5 inches from the ground for optimal audio alignment and mark the mount’s position beneath the TV. Secure the bracket firmly, then adjust the soundbar’s position to ensure it’s level and aligned. For a polished appearance, prioritize cable management techniques to keep wires neat and organized. Continue reading for more effective soundbar installation tips.
Key Takeaways
- Choose a compatible universal soundbar mount that supports your soundbar’s weight and matches your TV’s VESA pattern for ideal compatibility.
- Measure and mark a height of 42.5 inches from the ground for optimal audio experience at ear level.
- Securely attach the mounting bracket to the TV’s mounting holes, ensuring it’s level and centered beneath the TV for a balanced setup.
- Utilize cable management techniques to conceal wires and maintain a clean aesthetic around your soundbar and TV arrangement.
- Test the soundbar’s position and adjust for optimal audio performance by using the swivel feature, ensuring the best sound direction.
Choosing the Right Mounting Bracket
When mounting a soundbar under your TV, selecting the right mounting bracket is essential for optimal performance and aesthetics.
Opt for a Universal Soundbar Mount that supports your soundbar’s weight; for instance, the Mounting Dream MD5420 accommodates up to 15 lbs (6.8 kg). Ensure compatibility with your TV’s VESA pattern—MD5420 supports sizes up to 600x400mm.
Look for flexibility; brackets with 180-degree swivel capabilities enhance your setup options and allow for better sound dispersion. Choose a bracket that includes installation hardware and instructions, making the process quick and easy—typically around 15 minutes.
Features like depth adjustability and post-install height adjustment ensure a clean and ideal fit beneath your TV, allowing your soundbar to perform at its best while complementing your home entertainment setup.
Preparing Your TV for Soundbar Installation
Preparing your TV for soundbar installation requires careful attention to detail. First, identify the VESA pattern on the back of your TV to ensure compatibility with your soundbar mount. Next, check your soundbar’s weight; it should not exceed the 15 lbs limit for the Mounting Dream Soundbar Mount Bracket MD5420. Confirm the TV’s VESA size, ideally up to 600x400mm, and ensure there’s at least 42.5 inches of space below the TV for optimal sound quality. Gather the necessary tools and components for a smooth setup.
| Task | Details |
|---|---|
| Identify VESA Pattern | Verify compatibility with mount |
| Check Soundbar Weight | Must be ≤ 15 lbs |
| Confirm VESA Size | Up to 600x400mm |
| Measure Space Below TV | Ideally 42.5 inches |
| Gather Installation Tools | Include hardware and instructions |
Measuring for Proper Alignment
To achieve proper alignment for your soundbar, begin by measuring the height of your TV, aiming for around 42.5 inches to ensure an ideal ear level for optimal listening.
Next, check the VESA pattern on the back of your TV to confirm that the mounting brackets for the soundbar will fit securely.
Lastly, evaluate the dimensions of your soundbar, adjusting the mount depth as necessary to maintain a clean appearance and prevent any audio interference.
Determine VESA Pattern
Before mounting your soundbar, accurately determining the VESA pattern of your TV is critical for guaranteeing proper alignment. Measure the distance between the mounting holes on the back of your TV both horizontally and vertically.
Common VESA patterns include 200x200mm, 400x400mm, and 600x400mm, so verify your TV’s specifications. Use a ruler or measuring tape to pinpoint the distance between the centers of the mounting holes.
Confirm the VESA pattern on your TV matches the soundbar mount, ensuring that the soundbar’s weight doesn’t exceed the mount’s weight limit to maintain stability and safety during installation.
Proper alignment and secure mounting are essential for an optimal sound experience.
Measure TV Height
Having confirmed the VESA pattern of your TV, the next step involves measuring the TV height for proper alignment with your soundbar. The bottom of your TV should ideally be approximately 42.5 inches off the ground. For a 65-inch TV, position the bottom about 26 inches high, ensuring a comfortable sightline for seated viewers. This height also allows room for your soundbar, which should align with ear level when seated. If necessary, use a tilting mount to adjust the angle for optimal sound delivery. Always double-check the mounting compatibility between your TV and soundbar to ensure the best audio experience.
| TV Size | Bottom Height | Recommended Adjustment |
|---|---|---|
| 55″ | 24 inches | None |
| 65″ | 26 inches | Tilting if too high |
| 75″ | 28 inches | Tilting if too high |
| 85″ | 30 inches | Tilting if too high |
Assess Soundbar Dimensions
Accurate measurement of your soundbar’s dimensions is essential for a successful installation beneath your TV.
Start by measuring the width and depth to ensure it fits within the mounting brackets without obstructing any TV ports or controls.
Check the mounting hole specifications on the back of the soundbar for compatibility with the L-shaped bracket, ensuring a secure attachment.
Verify the weight; the Mounting Dream Soundbar Mount Bracket MD5420 supports soundbars up to 15 lbs.
Finally, confirm that the VESA pattern on your TV aligns with the mounting system and consider positioning the soundbar at a height of around 42.5 inches for an optimal audio experience in your sound system.
Marking and Leveling the Installation Area
To ensure a successful installation of your soundbar beneath the TV, it is crucial to accurately mark and level the installation area. Begin by measuring 42.5 inches from the ground to achieve optimal ear level. Next, identify the VESA mounting pattern on the back of your TV. Use a pencil to mark the position of the soundbar mount, ensuring it is centered beneath the TV. After marking, utilize a level tool to verify that your markings are straight. Finally, double-check the distance from the bottom of the TV to the mount to ensure there is adequate space for the soundbar and cable management.
| Task | Details |
|---|---|
| Measure Height | 42.5 inches |
| Locate VESA Pattern | On TV back |
| Mark Mount Position | Centered beneath TV |
| Use Level Tool | Confirm straightness |
| Check Distance | Verify space for soundbar |
Securing the Mounting Bracket
To secure the mounting bracket for your soundbar, start by selecting a bracket that matches your soundbar’s dimensions for compatibility.
Once you’ve chosen the appropriate bracket, use the provided screws to attach it firmly to the mounting holes, ensuring a snug fit for maximum stability.
After aligning the mount with your soundbar, verify that it’s level before locking it into place to prevent any misalignment or accidental falls.
Selecting the Right Bracket
Choosing the right bracket for mounting your soundbar is essential for ensuring stability and optimal audio performance. Here are key factors to consider:
- Weight Capacity: Ensure the bracket can support your soundbar’s weight (up to 15 lbs).
- VESA Compatibility: Check that it aligns with your TV’s VESA mount specifications (up to 600x400mm).
- Adjustability: Look for brackets that offer height and depth adjustments for a seamless fit.
- Included Hardware: Use the provided L-shaped bracket and installation instructions to minimize extra wall screw holes.
Ensuring Secure Installation
After selecting the right bracket, securing the mounting bracket is the next essential step in the installation process of your soundbar. Verify that the soundbar mount is attached using screws that fit your TV’s VESA pattern, supporting up to 15 lbs. Utilize the teeth on the arm connections to lock the soundbar in place, preventing any movement. Confirm that the soundbar’s mounting holes align with the included L-shaped bracket for a secure fit. Follow the instructions carefully to avoid extra wall holes, maintaining a clean look. Finally, double-check that the mount is level and can adequately support the soundbar’s weight.
| Step | Action | Outcome |
|---|---|---|
| Attach Mounting Bracket | Use appropriate screws | Secure attachment |
| Lock Soundbar | Utilize teeth on arm connections | Prevents movement |
| Check Alignment | Confirm compatibility with bracket | Verifies stability |
Connecting Cables for a Clean Look
A well-organized soundbar setup enhances both the functionality and aesthetics of your entertainment area.
To achieve a clean look for your soundbar installation, utilize effective cable management techniques:
- Conceal cables with cable channels or in-wall power units specifically designed for sound systems.
- Secure power and audio connections to your soundbar to prevent tangling.
- Use wire ties or clips to bundle cables neatly, ensuring they don’t detract from the soundbar’s sleek design.
- Consider wireless options for audio to eliminate excess cables and streamline your setup.
Testing and Adjusting the Soundbar Position
To ensure you achieve the best audio experience from your soundbar, it’s crucial to test and adjust its position after mounting. Aim for the soundbar’s center to align with your TV, approximately 42.5 inches off the ground, making adjustments based on your seating height as needed.
Utilize the Mounting Dream Soundbar Mount MD5420’s 180-degree swivel feature to fine-tune audio direction. Ensure the soundbar is securely locked in place with the teeth on the arm connections to prevent any movement.
If your soundbar is equipped with upward-firing speakers, adjust its depth to reduce interference. Experiment with different volume levels to determine the optimal sound projection for your viewing experience.
Tips for Cable Management and Aesthetics
While you focus on mounting your soundbar for ideal audio performance, effective cable management plays an essential role in achieving a clean and polished look.
To enhance aesthetics around your soundbar setup, consider these tips:
- Use cable channels or raceways to conceal wires, creating a tidy appearance.
- Explore in-wall power units for a seamless integration of your soundbar.
- Choose mounting solutions with built-in cable management features to keep everything organized.
- Employ wire ties or clips to bundle cables neatly and prevent tangling.
Labeling all wires can also aid in troubleshooting and maintenance, ensuring both functionality and a visually appealing soundbar setup.
Implementing these strategies will elevate your overall home theater experience.