To label inputs on your soundbar for family use, start by pressing the HOME button on the remote. Navigate to the “System” menu and select “Input Rename.” Use the cursor keys to highlight the input source you want to rename and press ENTER. Enter your desired name, keeping it concise and user-friendly, such as “TV,” “Game Console,” or “Streaming.” Confirm by selecting “SAVE.” Make sure to verify that the updated names reflect correctly on your soundbar display. This will enhance usability for all family members and make it easier to switch between different devices.
Key Takeaways
- Use clear and concise names for inputs on your soundbar, such as “TV,” “Music,” or “Games,” to improve family understanding and accessibility.
- Navigate to the System menu on the soundbar and access the Input Rename option to begin the renaming process.
- Select the desired input source using the cursor keys and press ENTER to enter name edit mode.
- Customize input names by typing new names, ensuring they are under 10 characters for easy recognition and recall by all family members.
- Save changes by selecting “SAVE” and confirm the new names to enhance everyday usability of the soundbar for the whole family.
Understanding the Importance of Input Naming
When you label the inputs on your soundbar, you greatly improve the user experience for everyone in your home. Clear input names, like “TiVo” or “Xbox,” allow family members to quickly identify which device they want to use, reducing confusion.
This concise naming—ideally under 10 characters—ensures that the correct input name appears on the TV, facilitating smoother changes between devices. Consistent labeling fosters familiarity with the soundbar, preventing frustration during device switching.
Navigating to the System Menu
To label your soundbar inputs effectively, you first need to access the System menu.
Start by pressing the HOME button on your remote control. When the home menu appears, locate and select the “System” option from the available items.
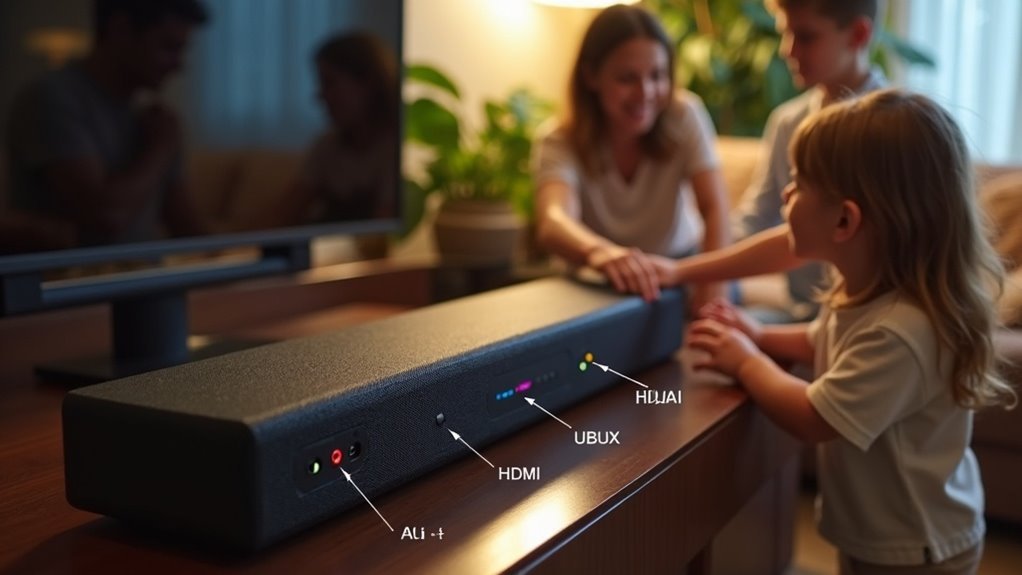
Within this menu, find the “Input Rename” option to access your input settings. Use the cursor keys to navigate through your input sources like HDMI, AV, and AUX.
Selecting the Input Source for Renaming
Once you’re in the Input Settings section of your soundbar, you’ll need to select the specific input source you want to rename, which could include options like HDMI 1-5 or other audio/video inputs.
Follow these steps to ensure you select the correct source:
- Use the cursor keys to navigate through the available inputs on your soundbar.
- Highlight the desired source you wish to rename.
- Press ENTER to confirm your selection.
This process is essential for organizing your soundbar inputs effectively.
Once you’ve selected the right input, you’ll be ready to enter the name edit mode and customize the labels for easier family use.
Entering Name Edit Mode
After selecting the input source you want to rename, you can proceed to enter name edit mode.
Press the ENTER button to access the name edit screen, where you’ll see the current name displayed. Use the cursor keys to navigate through available name options or to input a custom name for your soundbar’s input.
Press ENTER to edit your soundbar’s input name, using cursor keys to choose or create a custom label.
If you’re satisfied with your changes, press ENTER again to confirm and save them. Should you wish to cancel the current entry, select “CLEAR.”
Alternatively, you can restore the default name by choosing “RESET.” This ensures your soundbar’s inputs are labeled accurately for easy family use, enhancing your overall audio experience.
Modifying the Input Name
If you want to modify the input name on your soundbar, start by navigating to the home menu and selecting the [Setup] option. Follow these steps:
- Choose [Input Settings] and select the desired input source, ensuring it’s set to “Manual.”
- Press ENTER to enter name edit mode, which opens the on-screen keyboard.
- Use the directional buttons to select characters for your new input name and confirm by pressing [Enter].
After making your modifications, remember to select “SAVE” to ensure the changes are reflected on the front display.
This keeps your soundbar organized for family use.
Saving Your Changes
Saving your changes is an essential step in ensuring that the new input names on your soundbar are recorded correctly.
After editing, select “SAVE” using the cursor keys. Press the ENTER key to confirm the new name, making it effective immediately on the front display of your soundbar.
It’s vital to review the input names for accuracy before exiting renaming mode, as this helps avoid confusion for family members who use the soundbar. Changes are saved instantly upon confirmation, allowing you to check updated names right away.
To finalize your settings and exit renaming mode, simply press SETUP after saving your changes.
Verifying the Updated Input Names
How can you ensure that the updated input names on your soundbar are displayed accurately? Start by checking the front display to see if your changes took effect.
Then, follow these steps:
- Use the navigation keys to cycle through the input sources, confirming that each new name is displayed correctly.
- If any names don’t appear as intended, revisit the input settings to verify that your changes were saved.
- Periodically review the input names, especially after firmware updates or new device connections, to maintain clarity for family use.
Intuitive names help everyone quickly identify the correct input source on your soundbar.