Soundbars primarily pair with subwoofers using wireless technologies like Bluetooth for easy connectivity. To start, turn on your soundbar and subwoofer; they should automatically connect, indicated by a solid blue LED. If the connection fails, you can manually pair them by pressing the ID SET button on the subwoofer while simultaneously using the soundbar remote to hold the Mute button. Understanding the pairing process can greatly enhance your audio experience with your soundbar, and there’s more to explore on optimizing sound quality for the best performance.
Key Takeaways
- Soundbars typically use Bluetooth or RF connections to wirelessly pair with subwoofers, reducing cable clutter and enhancing flexibility in placement.
- Automatic pairing occurs when both devices are powered on; a solid blue LED indicates a successful connection.
- If automatic pairing fails, manual pairing can be initiated by pressing the ID SET button on the subwoofer and using the soundbar remote.
- Troubleshooting may involve confirming power connections and ensuring the soundbar and subwoofer are within range of each other.
- Proper placement of the soundbar and subwoofer enhances audio quality; consider room acoustics and avoid obstructions for optimal sound performance.
Understanding Wireless Connections
When you set up a soundbar with a subwoofer, understanding how wireless connections work is essential for enhancing your audio experience.
Many soundbars utilize wireless connections, such as radio frequency (RF) or Bluetooth, to pair with subwoofers. This technology allows for flexible placement, eliminating the clutter of cables.
Many soundbars use wireless technology like RF or Bluetooth for easy subwoofer pairing, reducing cable clutter and allowing versatile placement.
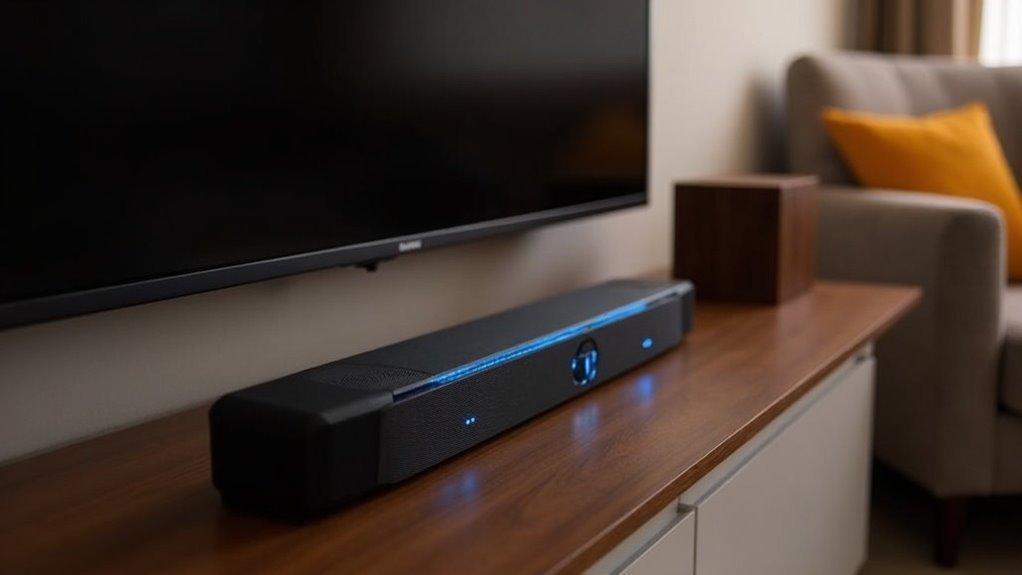
A successful connection typically involves powering on both devices and enabling automatic pairing. You’ll notice a solid blue LED on the subwoofer, indicating a successful link.
If the connection fails, you can manually pair the devices by pressing the ID SET button and following the prompt with your remote control, ensuring superior audio performance.
Automatic Pairing Process
How does the automatic pairing process simplify connecting a subwoofer to your soundbar? This streamlined method typically requires no additional setup, making it easier than ever to enhance your surround sound experience. To initiate the process, ensure that both your soundbar and subwoofer are powered on and connected to a wall outlet.
| Step | Action |
|---|---|
| 1. Power On | Turn on the soundbar |
| 2. Automatic Pairing | Subwoofer connects automatically |
| 3. LED Indicator | Check the blue LED LINK indicator |
| 4. Troubleshoot | If the indicator is blinking, manual pairing is needed |
This simplicity is essential for achieving optimal subwoofer output and elevating your overall audio experience with your soundbar.
Manual Pairing Steps
To manually pair your subwoofer with the soundbar, start with the initial setup by connecting the power cords and ensuring they’re plugged in.
Next, follow the specific button sequences on your soundbar to initiate pairing, and be prepared to troubleshoot any connection issues if the LED indicators signal a failure.
Finalize the process by confirming the solid Blue LED on the soundbar, which indicates a successful connection to the subwoofer.
Initial Setup Process
Setting up a soundbar and subwoofer can seem intimidating, but the process is straightforward.
First, connect the power cords for both devices to a wall outlet.
On the subwoofer, press and hold the ID SET button until the STANDBY light turns off and the LINK (Blue LED) blinks quickly.
With the soundbar off, press and hold the Mute button on the remote until ID SET appears on the display.
Turn on the soundbar while the subwoofer’s Blue LED blinks; a solid Blue LED confirms a successful connection.
If it continues blinking, restart from the ID SET step to ensure optimal low-frequency performance.
Enjoy your enhanced audio experience!
Troubleshooting Connection Issues
When encountering connection issues between your soundbar and subwoofer, troubleshooting requires a systematic approach.
Start by ensuring both devices are powered on and plugged into a wall outlet. Then, press the ID SET button on the back of the subwoofer until the STANDBY light goes off and the LINK LED blinks rapidly.
With the soundbar off, hold the Mute button on the remote until “ID SET” appears on the display. Turn on the soundbar; a solid Blue LED on the subwoofer indicates a successful connection.
If it continues to blink, restart the process from the previous step. For optimal performance, ensure your soundbar is compatible with the subwoofer you’re using.
Finalizing Pairing Steps
After resolving any connection issues, you can proceed with the manual pairing of your soundbar and subwoofer.
First, connect the power cords for both devices and plug them into a wall outlet.
Next, press and hold the ID SET button on the back of the subwoofer until the STANDBY light turns off and the LINK (Blue LED) blinks quickly.
While it’s blinking, press and hold the Mute button on the soundbar’s remote until ID SET appears on the display.
Turn on the soundbar; if successful, the Blue LED will become solid.
If it continues to blink, restart the process to ensure a successful connection.
Enjoy your enhanced audio experience with your newly paired soundbar and subwoofer!
Troubleshooting Connection Issues
To resolve connection issues between your soundbar and subwoofer, start by confirming both devices are powered and securely plugged into an outlet.
If the subwoofer’s blue LINK LED blinks, it indicates a failed automatic connection. Use the manual connection method by pressing and holding the ID SET button until the STANDBY indicator turns off and the LINK LED blinks quickly.
If the subwoofer’s blue LINK LED blinks, it signals a failed connection; try the manual pairing method to resolve it.
Then, hold Mute on the remote while the soundbar is off. If the blue LED still blinks, restart the process.
If issues persist after multiple attempts, consult the user manual or reach out to Samsung Support for further assistance tailored to your soundbar system.
Enhancing Audio Experience
Pairing a subwoofer with your soundbar significantly enhances your audio experience, providing deep bass frequencies that a soundbar alone can’t replicate.
This powerful combination creates a more immersive sound profile, taking your listening enjoyment to new heights.
- Greater Depth: Revel in a richer audio experience with enhanced bass impact during movies and music.
- Improved Clarity: Enjoy crisper dialogue and dynamic music, particularly during action-packed scenes.
- Simplified Setup: Many soundbars offer wireless connectivity options, minimizing cable clutter while ensuring seamless synchronization.
When paired with a well-tuned subwoofer, you can enjoy accurate, deep bass without distortion, resulting in an engaging audio environment that elevates your soundbar experience.
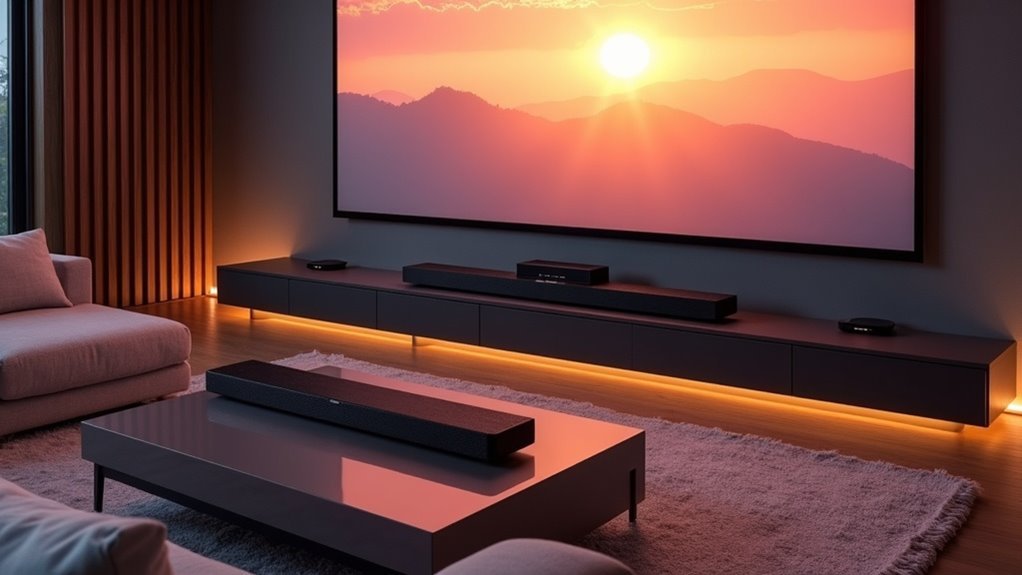
Tips for Optimal Subwoofer Placement
To achieve ideal soundbar placement, you should experiment with various locations in the room.
While placing the soundbar directly in front of your TV may seem appealing for optimal audio projection, it’s essential to ensure that it’s at ear level for the best sound experience.
Additionally, consider the room’s acoustic properties to guarantee the best performance from your soundbar.
Experiment With Different Locations
Soundbar placement is essential for achieving optimal sound quality and immersive audio performance in your setup. To enhance placement, consider these techniques:
- Ear Level Positioning: Ensure the soundbar is positioned at ear level when seated for the best sound projection and clarity.
- Wall Proximity: Experiment with placing your soundbar near walls to enhance sound reflection and create a fuller audio experience.
- Avoid Obstructions: Keep the soundbar clear of furniture or objects that could block sound waves, ensuring unobstructed audio delivery.
Trial and error is vital for finding the best placement that complements your room’s acoustics and enhances your listening experience.
Avoid Room Corners
While experimenting with soundbar placement can greatly improve audio quality, it’s important to consider the overall sound environment in your space.
Avoid placing your soundbar too close to walls or in room corners, as this can lead to distorted audio and a lack of clarity. Instead, position your soundbar a few feet away from walls to enhance sound dispersion and ensure a more balanced audio experience.
Additionally, consider your viewing position and the height of the soundbar for optimal sound projection. This approach guarantees a more accurate audio experience without compromising sound quality.
Consider Acoustic Properties
Understanding the acoustic properties of your room is essential for ideal soundbar placement. Since soundbars are designed to enhance audio clarity and spatial effects, proper positioning can significantly improve your listening experience.
Here are three tips to optimize your setup:
- Experiment with Locations: Test various spots to identify where sound quality peaks, as placement can drastically impact performance. Consider placing the soundbar at ear level for the best audio experience.
- Avoid Obstructions: Ensure the soundbar isn’t blocked by furniture or other objects to maximize sound projection and clarity.
- Utilize Room Features: Arrange furniture strategically and consider wall materials to minimize unwanted resonance and reflections, allowing for a more immersive audio experience.