To enhance your audio experience with a soundbar in an OTA antenna setup, start by connecting the antenna to your TV’s antenna input. Next, for optimal audio quality, link the soundbar using HDMI ARC, or alternatively, use an optical cable for a dependable connection. Be sure to configure your TV’s audio settings to select the external speakers and set the digital output to PCM. It’s also important to disable the TV’s built-in speakers to avoid any audio conflicts. By following these steps, you can effortlessly optimize your soundbar audio experience while enjoying over-the-air broadcasts.
Key Takeaways
- Connect the OTA antenna to the TV’s coaxial input and perform a channel scan to access available channels, ensuring you have a variety of content to enjoy with your soundbar.
- Use an HDMI ARC, optical cable, or Bluetooth to connect the soundbar to the TV for optimal audio output, enhancing your overall viewing experience.
- Access the TV’s audio settings to select the appropriate output option for the soundbar, making sure to enable PCM format for the best sound quality.
- Disable the TV’s built-in speakers to prevent audio conflicts and ensure all sound is routed through the soundbar, allowing you to fully enjoy your audio setup.
- Regularly check for firmware updates on both the soundbar and TV to maintain optimal performance and compatibility, ensuring your soundbar delivers the best audio experience.
Understanding Your OTA Antenna Setup
When setting up your Over-the-Air (OTA) antenna, it’s essential to position it correctly for peak signal reception. Place it as high as possible, preferably near a window, to minimize obstructions and enhance your viewing experience.
This setup will help you receive both standard definition (SD) and high definition (HD) signals from local TV stations. After installation, use your TV’s channel scanning feature to find and store available channels in your area.
However, keep in mind that the audio output from an OTA antenna can be limited. To improve your audio experience significantly, consider integrating a soundbar into your setup. A soundbar can enhance the clarity and depth of audio, ensuring you enjoy your favorite shows with superior sound quality.
Connecting Your OTA Antenna to the TV
To connect your OTA antenna to the TV, begin by locating the coaxial input, typically labeled as “Antenna” or “Cable,” and securely attach the coaxial cable.
Once the installation is complete, navigate to your TV’s settings to configure the channel setup and perform a channel scan for available OTA channels.
Additionally, ensure that you select the appropriate audio output to ensure compatibility with your connected soundbar, enhancing your viewing and listening experience.
Antenna Installation Process
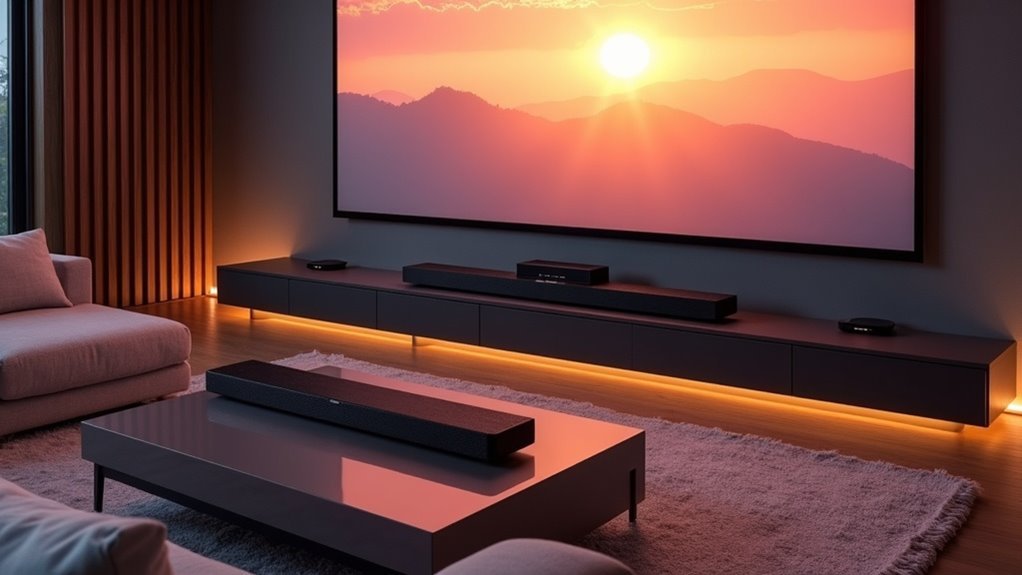
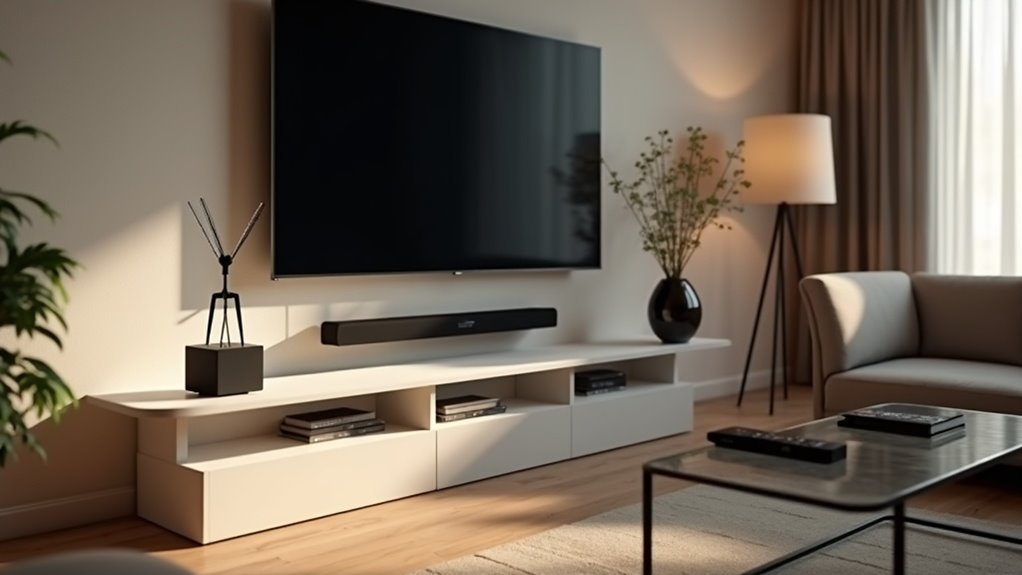
Connecting your soundbar to the TV is a straightforward process that significantly enhances your audio experience. Follow these steps:
- Position the Soundbar: Place your soundbar in front of the TV or mount it on the wall for optimal sound projection.
- Connect Using HDMI or Optical Cable: Attach the soundbar to the TV using an HDMI ARC port or an optical cable, depending on your TV’s capabilities.
- Select Audio Input Source: Turn on the TV, choose the correct input for the soundbar, and adjust the audio settings to ensure the soundbar is set as the primary audio output device.
Check the sound settings on your TV to verify that you’re getting high-quality audio for the best viewing experience.
TV Settings Configuration
After setting up your soundbar, it’s essential to optimize your TV settings for the best audio experience.
Start by connecting your OTA antenna to the RF input on your TV and selecting the correct input source using your remote.
Next, perform a channel scan in the TV settings menu under “Channels” or “Broadcasting” to ensure you receive all available channels.
Adjust the antenna’s position for optimal signal reception, ensuring there are no obstructions that could affect performance.
Finally, configure your TV’s audio output to a compatible format, such as PCM, to ensure seamless integration with your soundbar.
If necessary, explore additional audio solutions to enhance compatibility and sound quality.
Choosing the Right Connection Method for Your Soundbar
How can you guarantee the best audio experience when pairing your soundbar with an OTA antenna setup?
Choosing the right connection method is essential. Here are three options to consider:
- HDMI ARC: If both your TV and soundbar support HDMI ARC, this option provides superior audio quality and allows for easy control with a single remote.
- Optical Cable: A dependable choice for digital audio, this connection is widely supported and delivers excellent sound quality.
- Bluetooth: Ideal for wireless setups, but make sure both devices support Bluetooth pairing for optimal performance.
Always verify the specifications of your devices to select the best connection method that meets your audio format requirements.
Using Optical Cable for Soundbar Connection
Using an optical cable to connect your soundbar can significantly enhance your audio experience, especially when combined with an OTA antenna setup. First, ensure that both your TV and soundbar are equipped with optical ports. After making the connection, navigate to your TV’s audio settings to select the optical output and confirm that the PCM format is enabled. If you run into any issues, make sure the soundbar is set to the appropriate input and that the TV’s built-in speakers are turned off. Utilizing an optical cable typically provides superior sound quality compared to analog alternatives.
| Step | Action |
|---|---|
| 1. Connect Optical Cable | Plug the optical cable into the TV and soundbar optical ports |
| 2. Access Audio Settings | Navigate to TV audio settings and select the optical output |
| 3. Check Audio Format | Ensure that PCM format is selected, if available |
| 4. Verify Soundbar Input | Confirm that the soundbar is set to the correct input mode |
| 5. Turn Off TV Speakers | Disable the TV’s built-in speakers for optimal sound output |
Connecting via Aux Out Jack
An alternative method for connecting your soundbar to the TV involves utilizing the aux out jack. Follow these steps for a smooth setup:
- Locate the 3.5mm aux out jack on your TV, typically found on the side or back.
- Use a 3.5mm to RCA adapter cable to connect the aux out jack on the TV to the soundbar’s aux input.
- Adjust your TV’s audio output settings to ensure sound routes through the aux connection instead of the built-in speakers.
Finally, remember to set appropriate volume levels on both your soundbar and TV to achieve ideal audio clarity.
Enjoy enhanced sound quality with your new soundbar setup!
Exploring Bluetooth Connectivity Options
Bluetooth connectivity provides a convenient wireless solution for connecting your soundbar to your TV, especially in setups that lack optical or HDMI ARC connections.
Many modern soundbars are equipped with Bluetooth, allowing for seamless pairing with your TV to enable audio playback from OTA antenna channels.
To ensure optimal performance, check that both your soundbar and TV are Bluetooth-enabled and carefully follow the manufacturer’s pairing instructions.
Keep in mind that Bluetooth audio may introduce slight latency, so it’s advisable to test the sound sync with video.
Additionally, be aware of the Bluetooth range, as obstacles between the soundbar and TV can negatively affect audio quality and connectivity stability.
Configuring TV Audio Settings for Soundbar Output
To configure your TV audio settings for optimal soundbar output, begin by selecting the appropriate audio output option, such as HDMI ARC or optical output, in your TV’s settings.
Ensure that your soundbar is compatible with the audio formats supported by your TV, typically PCM, for the best performance.
Lastly, experiment with different audio output formats to find the one that enhances your soundbar experience the most.
Adjusting TV Audio Settings
When setting up your soundbar, it’s crucial to adjust your TV’s audio settings to ensure optimal performance.
Follow these steps for ideal configuration:
- Navigate to the sound settings menu and set the digital audio output to PCM if your soundbar supports it.
- Enable external speakers or your soundbar in the audio output settings to ensure proper sound routing.
- Disable the TV’s internal speakers to avoid audio conflicts while using the soundbar.
For model-specific guidance, consult your TV’s user manual, as configurations can vary widely.
Adjusting these settings will significantly enhance your overall soundbar experience.
Soundbar Compatibility Check
Before you can enjoy high-quality audio from your soundbar, you need to confirm its compatibility with your TV’s audio output settings.
First, set your TV’s audio output to PCM format, as many soundbars, including Polk models, require this for ideal sound quality. Next, ensure that the internal speakers are disabled to avoid sound conflicts.
Check the available audio output options such as optical, HDMI ARC, or aux to determine the best connection method for your soundbar. If your TV doesn’t support PCM, consider using an external audio converter.
Lastly, consult your soundbar’s specifications to confirm it supports the audio formats your TV outputs, ensuring seamless integration and an enhanced audio experience.
Troubleshooting Common Soundbar Issues With OTA Antenna
While using a soundbar with an OTA antenna can enhance your audio experience, you may encounter some common issues that require troubleshooting.
Here are three key areas to check:
- Audio Format: Confirm your soundbar supports the audio format output by your TV, such as PCM, since some soundbars only accept specific formats.
- Settings Configuration: Ensure that your TV is configured to output audio to external speakers rather than its built-in speakers.
- Connection Options: Examine the available connection options, such as optical audio cables or auxiliary outputs, as older TVs may lack compatible digital outputs required for modern soundbars.