To use a soundbar with a recessed TV, start by checking the soundbar’s clearance requirements—like 10 inches for a Sonos Arc or 4 inches for a Beam. Ensure that your recessed box matches the soundbar’s dimensions, allowing for a 2-inch gap from the wall to enhance sound quality. Install the soundbar using brackets for a sleek appearance, and manage cables with systems like Power Bridge for a tidy setup. Keep reading to discover more tips on optimizing your audio experience with soundbars.
Key Takeaways
- Ensure the soundbar fits within the recessed box dimensions, taking into account clearance requirements for models like Sonos Arc and Beam.
- Maintain at least a 2-inch distance from the back wall for optimal sound quality and to prevent obstruction.
- Use mounting brackets to align the soundbar flush with the TV for a clean aesthetic and effective sound projection.
- Implement cable management solutions, like Power Bridge, to conceal wires and maintain a tidy setup.
- Position the soundbar at ear level, around 42.5 inches high, for the best audio experience.
Assessing Your Soundbar Options
When selecting a soundbar for a recessed TV, it’s essential to consider both compatibility and sound quality to enhance your viewing experience.
Look into options such as the JBL Bar 500, which offers clearer dialogue, even without Atmos technology.
Explore the JBL Bar 500 for enhanced dialogue clarity, even without Atmos technology.
Pay attention to clearance requirements: models like the Sonos Arc need about 10 inches of space, while the Beam requires around 4 inches.
For a balanced aesthetic, allow for a 2-inch recess from the wall to prevent sound blockage.
Lastly, ensure the soundbar fits within your recessed box dimensions; improper sizing can lead to installation challenges and negatively affect sound quality.
Determining Recess Depth and Clearance
When determining recess depth and clearance for your soundbar, it’s essential to take into account the specific requirements of your model.
For instance, the Arc needs around 10 inches, while the Beam only requires about 4 inches due to its design.
Proper speaker placement is critical to guarantee ideal sound quality and avoid obstructions, so take the time to evaluate your setup carefully to ensure the best performance from your soundbar.
Recess Depth Requirements
To guarantee ideal sound quality from your soundbar, understanding the recess depth requirements and clearance is essential.
Standard wall depths are typically around 4 inches, which can limit your mounting options. For maximum sound projection, the Sonos Arc requires approximately 10 inches of clearance, while the Sonos Beam needs about 4 inches.
A partial recess, positioning the soundbar’s front roughly 2 inches from the wall, often enhances the audio experience.
Ensure that the recessed box dimensions align with your soundbar’s size to avoid compromising sound quality. Additionally, use speaker grill fabric cautiously, as it may obstruct sound.
Clearance for Soundbars
Achieving ideal sound quality with a recessed soundbar is essential for enhancing your audio experience. To ensure peak performance, it’s crucial to provide adequate clearance for both the sides and the top of the soundbar. Below is a quick overview of the clearance requirements for the Arc and Beam soundbar models:
| Soundbar Model | Required Clearance |
|---|---|
| Arc | 10 inches |
| Beam | 4 inches |
| Standard Wall Depth | 4 inches |
| Ideal Position | 2 inches from wall |
Speaker Placement Considerations
Proper speaker placement is essential for maximizing the audio experience when installing a soundbar in a recessed space. For optimal sound projection, ensure your Arc soundbar has approximately 10 inches of clearance, while the Beam can function with just 4 inches.
Full recessing may necessitate the use of speaker grill fabric to preserve both aesthetics and sound quality. Typically, the standard 4-inch wall depth can limit full recess options, making a partial recess that aligns the soundbar’s front with your TV’s front the best choice.
Always assess the dimensions of the recessed box to prevent compatibility issues that could negatively impact your audio performance during TV mounting.
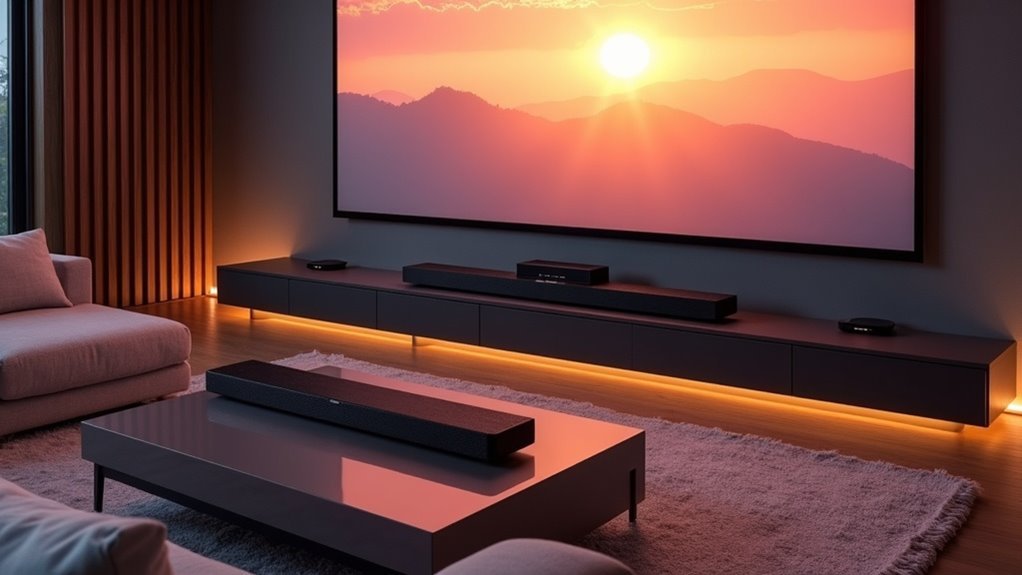
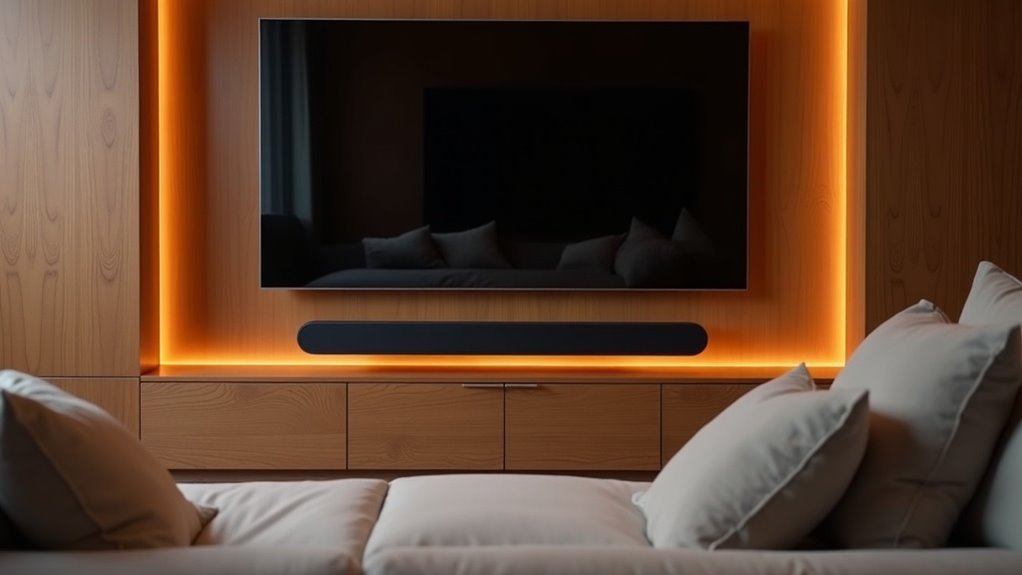
Installation Techniques for a Clean Look
When installing a soundbar with a recessed TV, it’s essential to prioritize alignment and aesthetics for a sleek look.
Opt for a mounting bracket that positions the soundbar flush with the TV, ensuring there’s adequate clearance—approximately 10 inches for models like the Arc.
If the soundbar is recessed, consider using speaker grill fabric to blend in seamlessly while still accommodating the speakers.
For wall mounting, double-check that the bracket is securely fitted and use spacers to prevent blocking any recessed TV holes.
Measuring the dimensions of both the soundbar and TV is key to achieving a flawless fit.
Lastly, implement cable management solutions like Power Bridge to conceal wiring, boosting the overall appearance of your installation.
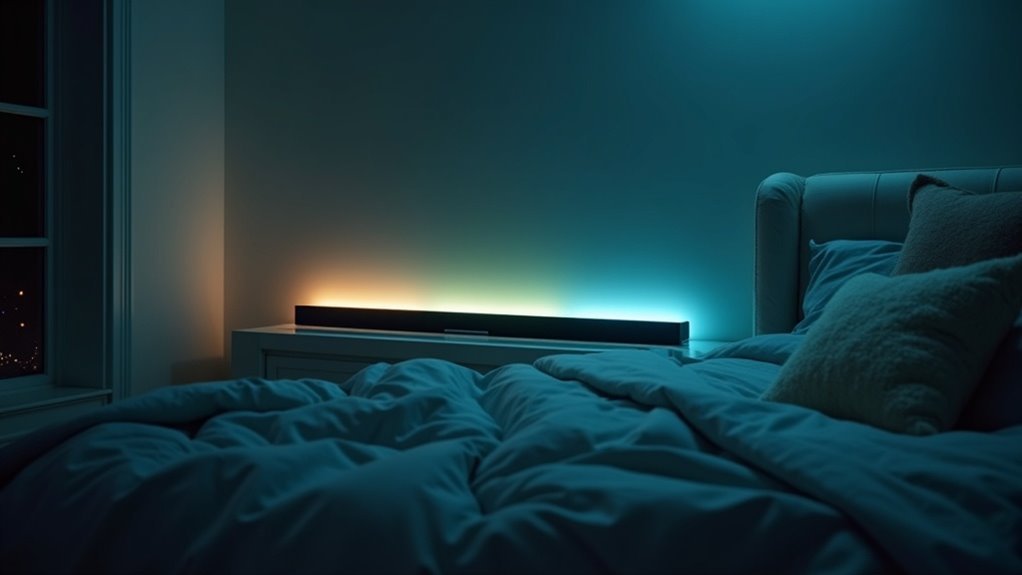
Optimizing Sound Quality With Proper Placement
To optimize sound quality for your soundbar, position it at ear level, ideally around 42.5 inches high, to effectively direct sound toward your seating area.
Ensure there’s sufficient clearance—10 inches for models like the Arc and 4 inches for the Beam—to avoid obstructions from walls or furniture.
Experiment with various placements above or below the TV to achieve the best balance between aesthetics and audio performance.
Soundbar Positioning Techniques
Achieving ideal sound quality from your soundbar in a recessed area hinges on strategic positioning.
To optimize performance, begin by ensuring the soundbar is at least 2 inches from the back wall to prevent obstruction of sound from side and upfiring speakers. For models like the Arc, maintain about 10 inches of clearance above, while the Beam requires 4 inches.
A partial recess design that aligns the soundbar front with your TV on the wall can enhance sound delivery.
Always evaluate your room’s acoustics, as various materials and furniture can greatly impact audio quality and clarity.
Mastering effective soundbar positioning techniques is essential for an immersive audio experience.
Clearance and Acoustics Considerations
When choosing the ideal placement for your soundbar, it’s essential to consider both clearance and room acoustics to ensure optimal sound quality. Aim for a minimum of 10 inches of clearance above an Arc and 4 inches for a Beam to prevent any obstruction of sound projection.
A slight recess of about 2 inches from the wall can help align the soundbar with your TV, further enhancing its performance. Additionally, take into account the room acoustics, as wall reflections can significantly affect sound quality.
Lastly, verify that the dimensions of the recessed box match your soundbar to avoid any interference with sound. Maintaining proper clearance is crucial for achieving peak performance from your soundbar.
Managing Cables for a Neat Setup
Managing cables effectively is essential for creating a sleek and professional look in your soundbar setup. Use a Power Bridge or similar cable management system to conceal power cords and audio cables behind the soundbar, ensuring a clean aesthetic.
Make sure all cables are rated for in-wall use to comply with electrical codes and prevent hazards. Plan your cable routing carefully before installation to avoid jamming cables, which can lead to issues.
Additionally, consider nylon spacers when mounting the soundbar, allowing it to sit flush against the wall and facilitating better cable management behind it.
Testing and Adjusting for Best Performance
To achieve optimal performance from your soundbar, ensure it is positioned at ear level when seated, ideally around 42.5 inches off the ground. Experiment with different placements, including recessed and mounted options, to determine which configuration produces the best sound quality. Utilize a sound level meter to assess audio output from various seating positions. Make adjustments to the bass and treble settings to compensate for potential sound blockage caused by the TV. Regularly evaluate the acoustics of your room and consider incorporating sound-absorbing materials to enhance audio clarity.
| Placement Type | Sound Quality | Notes |
|---|---|---|
| Recessed | Moderate | Check mounting holes |
| Mounted | Ideal | Clear from walls |
| Low Position | Poor | Blocked sound |
| High Position | Fair | Echoes possible |